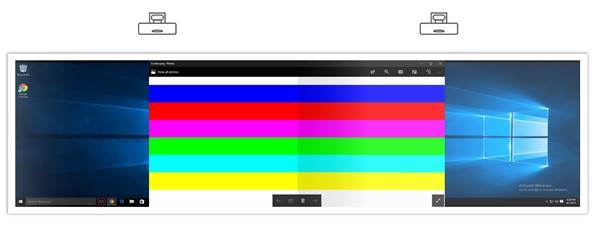
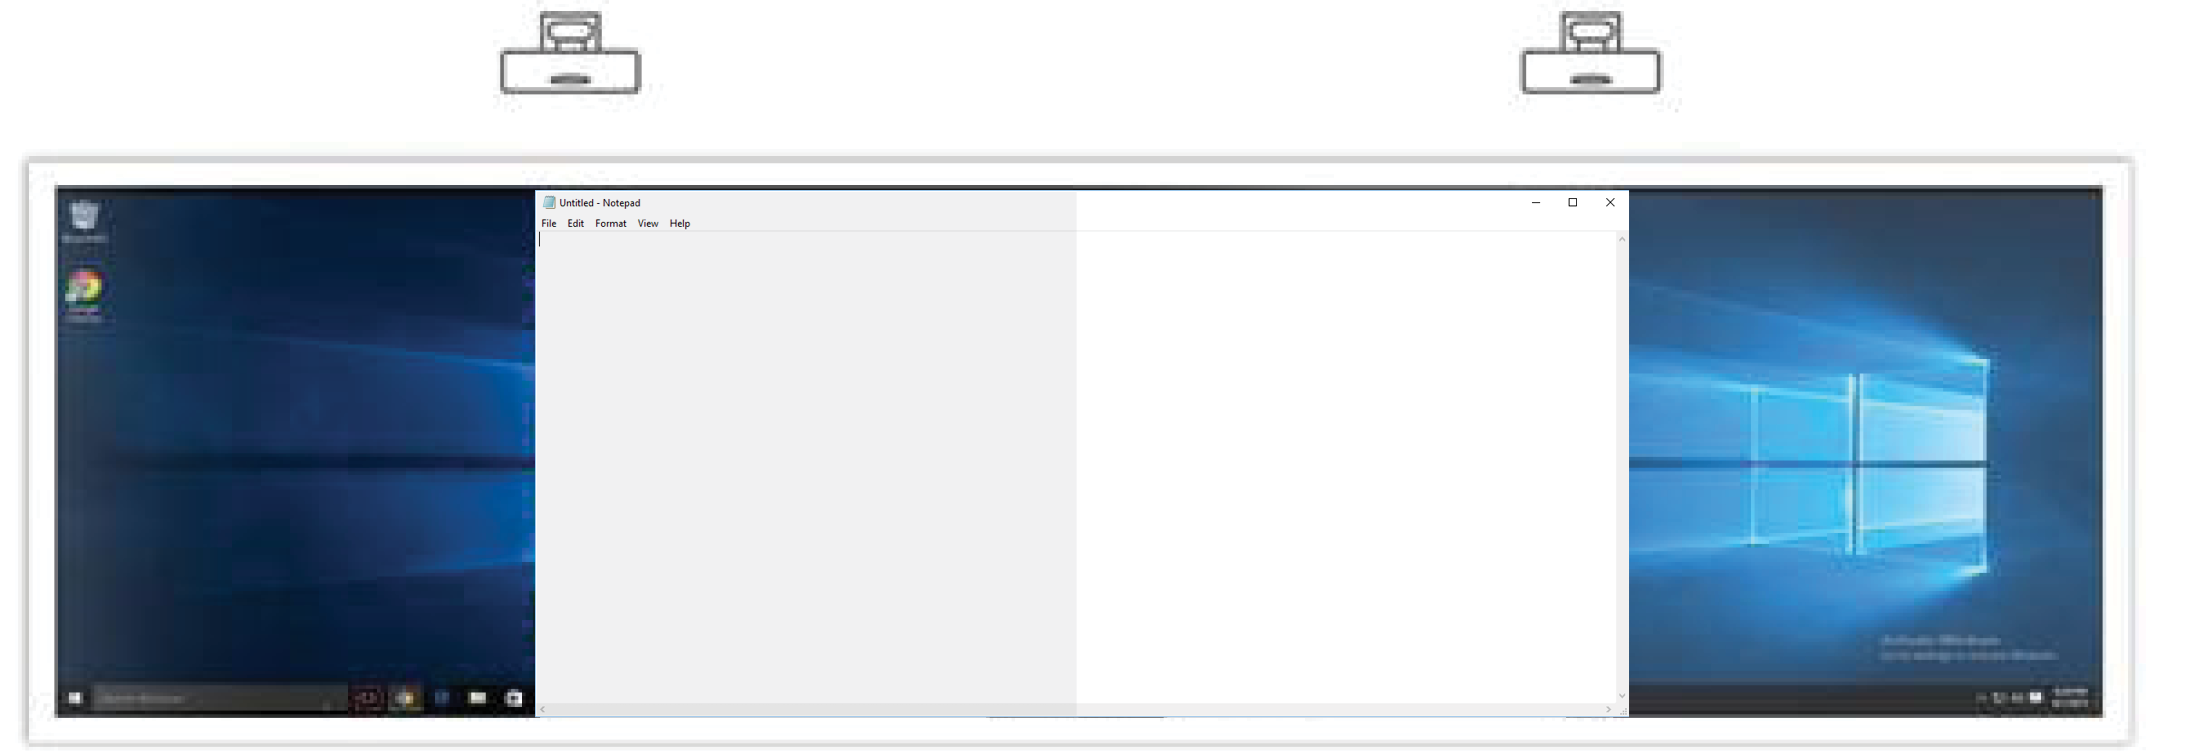
Once the Nureva Wall hardware has been installed it is important to adjust the projector image brightness and color correction to match the projected images of dual or triple systems. The steps in this article will help to match the color and brightness of the projected images as close as possible.
Download the color correction bar image file.
Color corrections
Follow these steps to color match your projectors:
| Fix | Tool | Steps | Example |
|---|---|---|---|
|
A |
Projector settings Inside the projector menu |
Color Mode (default "Blending") • Color Temp • Hue • Saturation
Gamma • Color Temp • Wall Color
See the projector user manual for further details.
|
  |
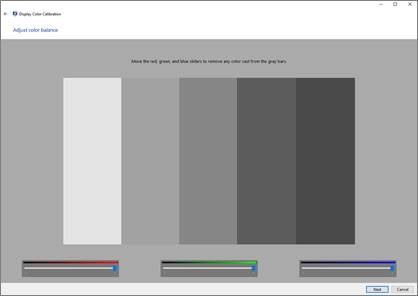
| B | Color management Built into Microsoft® Windows® |
|
 |
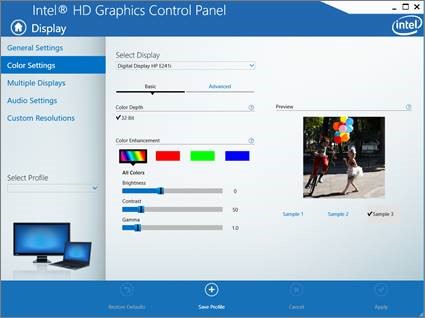
| C | Video card settings | Find the color and brightness options inside the manufacturer's video card settings. Configure each output individually. |
 |
| D | Change room lighting | If the brightness can't be improved enough with steps A to C, consider removing lights from the room. |