Step 1
Preparing Milestone Import File
- Export milestones to an Excel/csv file from P6, MS Project or other application with the following fields: task_code, task_name, end_date, and delete any extra columns
- If needed click here -> Download Excel template
- Move the milestone ID column to column A, the description to column B, and the date to column C

If your date format is already set to MM/DD/YYYY, skip to Step 2. Otherwise, follow these next 4 steps.
- Select the entire end_date column
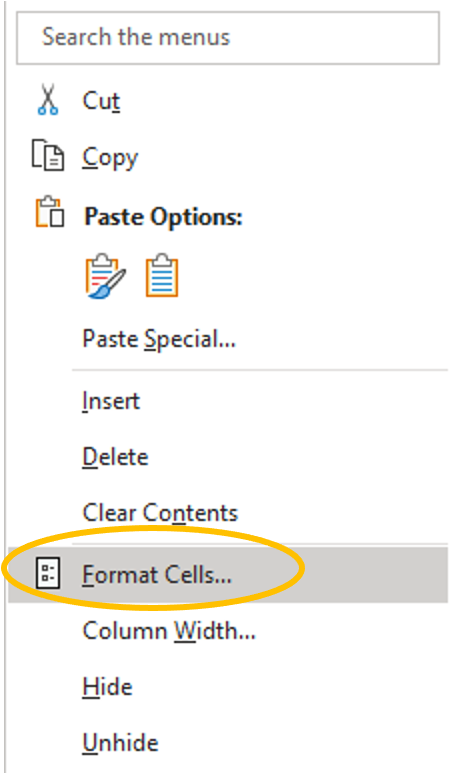
- Right click the column header and select format to open the number formatting dialog
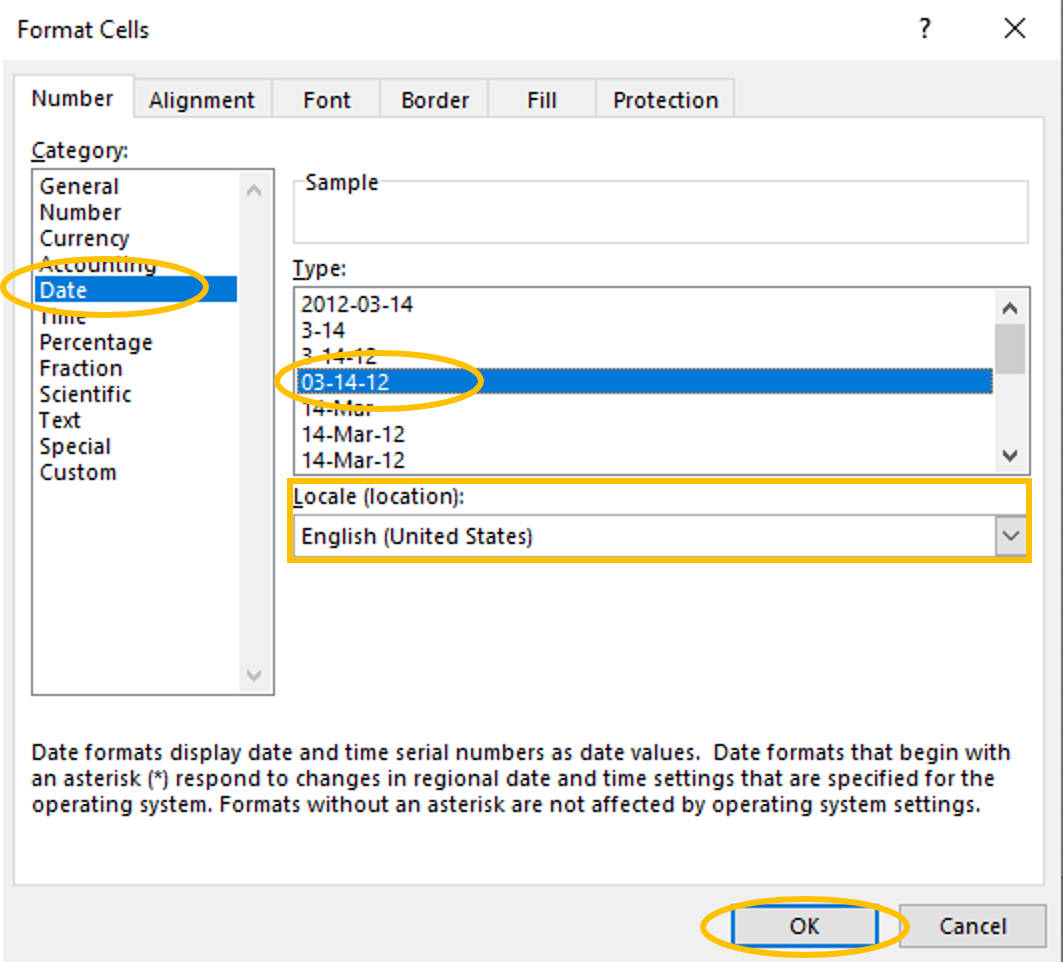
- Select the Locale – English (United States)
- Select the date format to MM/DD/YYYY – the dates should all change to this format
Step 2
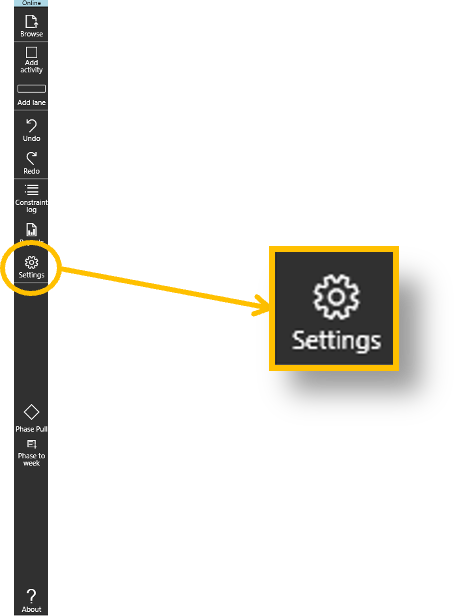
- Open Visual Planner and click on the Settings icon
Step 3

- Click the Plan tab
- Choose between Import Master Milestones or Import Milestones from File
Import Master Milestones
- Browse to select the Excel file you have just saved
- Click OK
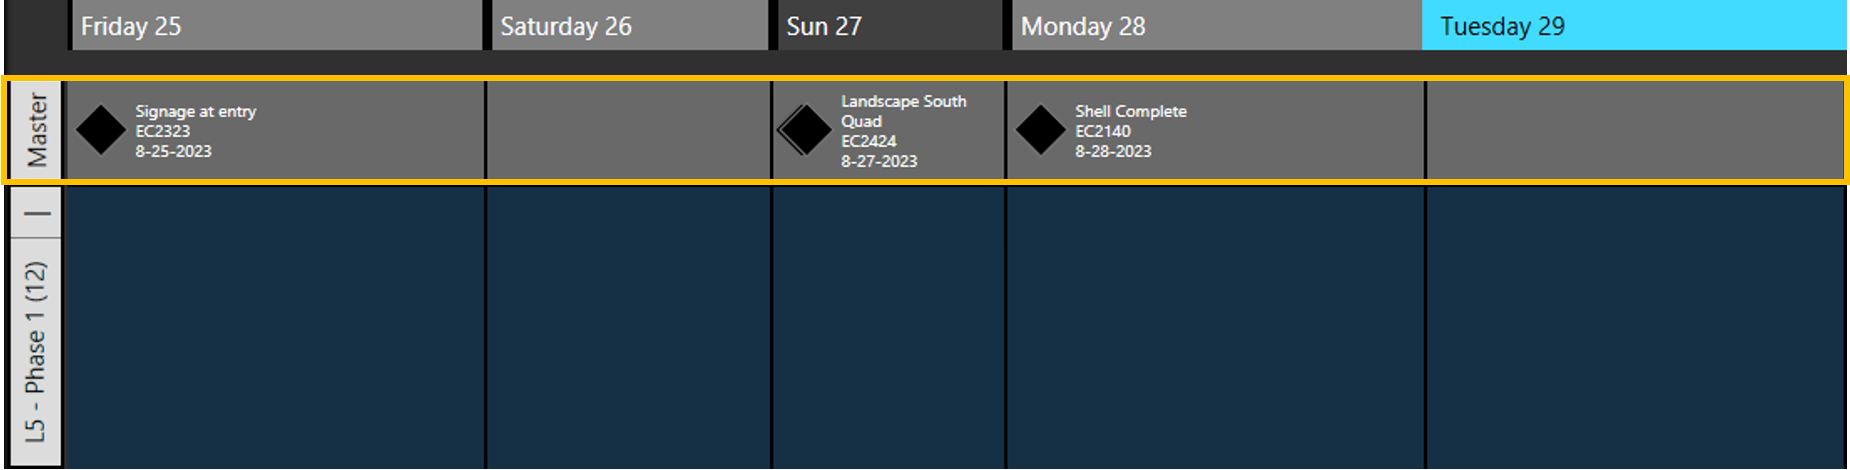
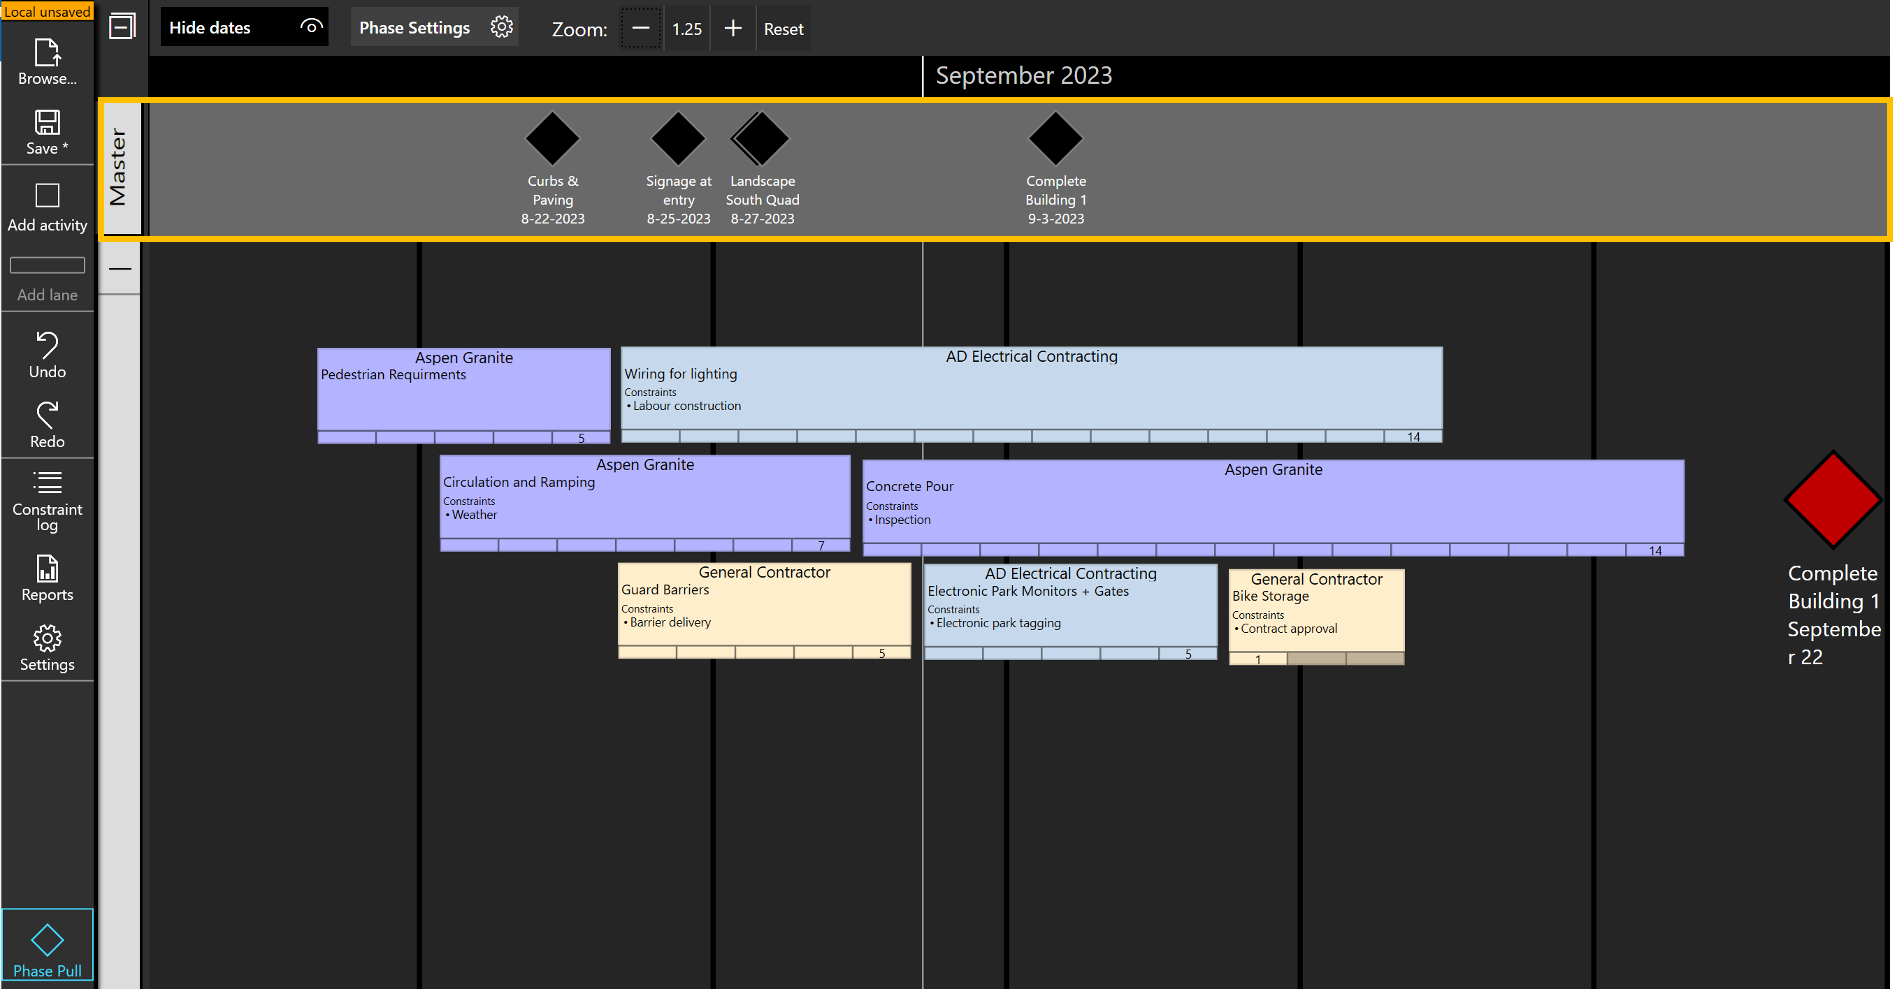
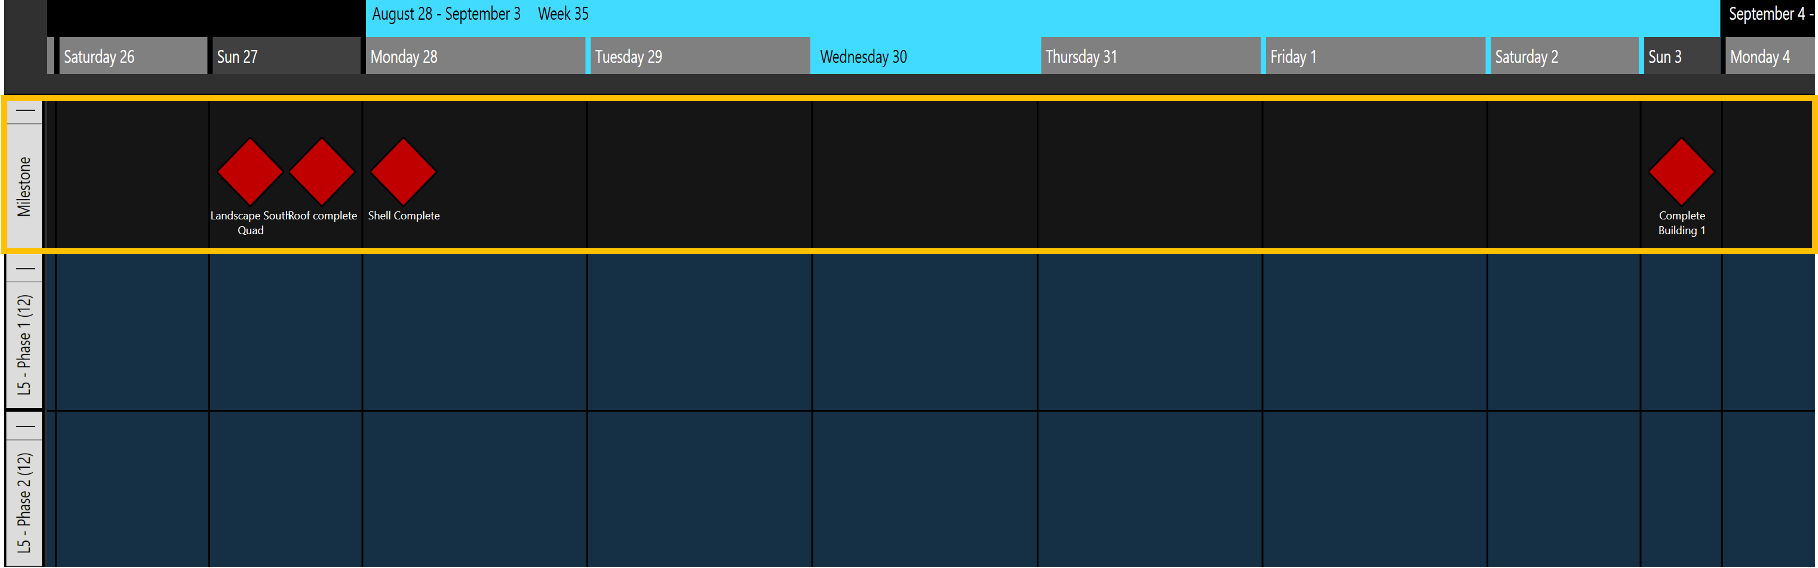
- On import, a 1/3 size lane is created in the weekly view and in the phase pull module

- Master milestones are fixed and the lane can not be collapsed
- To create a ‘Plan’ milestone, touch or click and hold on a Master milestone, drag a copy into a lane to edit

- Milestones on the same date will stack. Click or tap the stack to cycle through them.

- Clicking the master milestone will highlight the plan milestones created from that milestone
- If a Plan milestone is moved forward or backward compared to the Master, an alert is shown, and the number of days past will be displayed.
Deleting Milestones

Right-click the milestone or stack in the master milestone lane to access the delete menu.
Delete
Import Milestones from File
- Browse to select the Excel file you have just saved
- Click OK
- On import, a milestone lane is created and populated
- Drag and edit milestones as you see fit